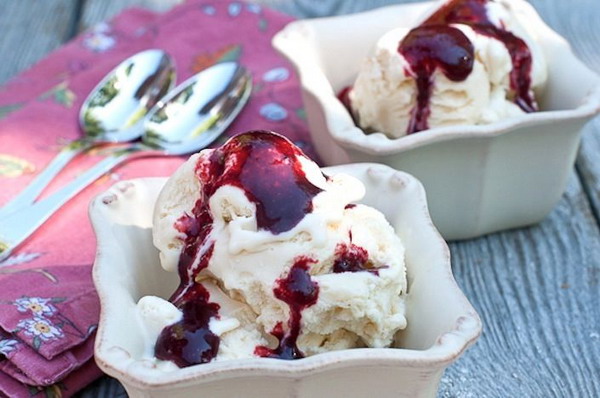
 Your kids (and usually the adults) will love homemade ice cream. There are different ways you can make one and you don’t really need an ice cream maker.
But an ice cream maker can make things a lot more convenient. The instructions below will show you how to do it with or without one.
The Basic Ingredients and Tools
To make ice cream using an ice cream maker you’re going to need all the ingredients you want to add. You’ll also need a saucepan, measuring cup, and a container.
The basic ingredients include one cup of whip cream (heavy variant), white sugar (3/4 of a cup), milk (2 and ¼ cup), and vanilla extract (2 teaspoons). You can add other ingredients like chocolate chips if you want.
Making Homemade Ice Cream Using an Ice Cream Maker
Prep time will usually be about half an hour. Cooking time for some of the ingredients will be about five minutes. Your ice cream will be ready in 2 and ½ hours.
Place milk, cream, and sugar in saucepan in low heat. Mix ingredients until a ring of foam appears around the edges.
Transfer ingredients into container then add vanilla. Chill everything for 2 hours (chill overnight if you can wait).
Pour mixture into ice cream maker. Churn it for about 25 minutes or according to the instructions provided by the machine’s manufacturer.
After that, the ice cream should be frozen yet soft. You can serve it now or you can put it back into the freezer for 3 hours to ripen the mix.
Making Homemade Ice Cream without the Machine
Making homemade ice cream without the machine is slightly trickier, but doable. You will still be using the same ingredients and equipment.
If you like to add cookies or chocolate chips, prepare them first – crush them into small fragments. Next, simmer the milk in low heat until light foaming forms on the sides (aka scalding).
Add sugar and some salt to taste. Stir the mixture until everything is completely dissolved. After that you can add the rest of the ingredients.
Pour everything in a bowl and set aside to cool. When cool, place a cover on bowl and place in fridge overnight.
The mixture should have aged making it easier to whip. Remove it from the fridge and stir. Transfer the mix in a bowl that is freezer safe. Cover the bowl.
Freeze everything for 2 hours. After that, take it out of the freezer and mix. It should be thick enough for scooping – if not put it back in freezer for another 2 hours.
Stir in some cookie chunks or some bits of chocolate (or nuts). After that, pack the entire batch in an airtight container. Allow the entire mix to freeze until it is firm.
Freeze and Stir Method
The freeze and stir method is another option. You will follow the same procedure, making ice cream without an ice cream maker.
The difference with this method is that you will check the mixture as it freezes. Every half an hour, you will take it out and stir it around. Keep doing this until the mix is soft, fluffy, and frozen.
You can use a spatula and stir the mixture every 30 minutes. You can also use a stick blender to make things easier.
Frozen Cube Method
Using this method, you will pour the ice cream mixture into ice cube trays. Freeze the mix for about 4 or 5 hours (or until it hardens).
Remove the mixture from the trays and place them in a bowl. Add heavy cream. Process the mix in a food processor for about 30 seconds.
Scrape any stray lumps and continue mixing until you get a nice consistency. Transfer mixture into a container and freeze for 4 hours. Serve.
The Bag Method
Using this method, you will need some kosher salt, ice, and zip lock bags. You will still do the same procedure as above without using an ice cream machine.
Place 2 cups of mixture in bag (you can make several bags). Grab a larger bag; add ice in it until it reaches halfway. Add salt and mix. Place ice cream bag. Shake and seal – add more ice if necessary.
Conclusion
These are your options if you want to make homemade ice cream. Just choose the method that is best for you.
